In-wall speakers have become a game-changer for homeowners who want immersive audio without the visual clutter of floor-standing boxes. Unlike traditional speakers that dominate a room, in-wall models hide behind drywall or finished panels, blending seamlessly into your décor while delivering dialogue, effects, and surround sound. Whether you’re building a dedicated home theater or upgrading your living room setup, choosing the right in-wall speakers makes the difference between forgettable background audio and the kind of crisp, detailed sound that pulls you into every scene. This guide breaks down what you need to know to pick speakers that work for your space and budget.
Table of Contents
ToggleKey Takeaways
- Best in wall home theater speakers eliminate visual clutter by hiding behind drywall while delivering crisp dialogue, surround effects, and immersive audio without eating up floor space.
- Passive in-wall speakers from brands like Sonance and Klipsch ($150–$600+ per unit) offer the best value and flexibility for most DIY setups when paired with a quality receiver and subwoofer.
- Verify impedance matches your receiver (typically 8 ohms), prioritize speakers with 50 Hz–20 kHz frequency response, and remember that doubling wattage only increases volume by roughly 3 decibels—quality design matters more than raw power.
- DIY installation requires cutting drywall openings, running CL2 or CL3 rated speaker wire through walls, and patching/painting—plan a full weekend per room and consider hiring an electrician if wall cavities are complex or already closed.
- Adjustable-angle tweeters and modern materials like silk dome tweeters with polypropylene woofers improve off-axis dialogue clarity and frequency response compared to older speaker designs.
- In-wall speakers protect drivers from pets and accidental damage since components sit inside wall cavities behind finished surfaces, making them ideal for families with children or active households.
Why In-Wall Speakers Transform Your Home Theater Setup
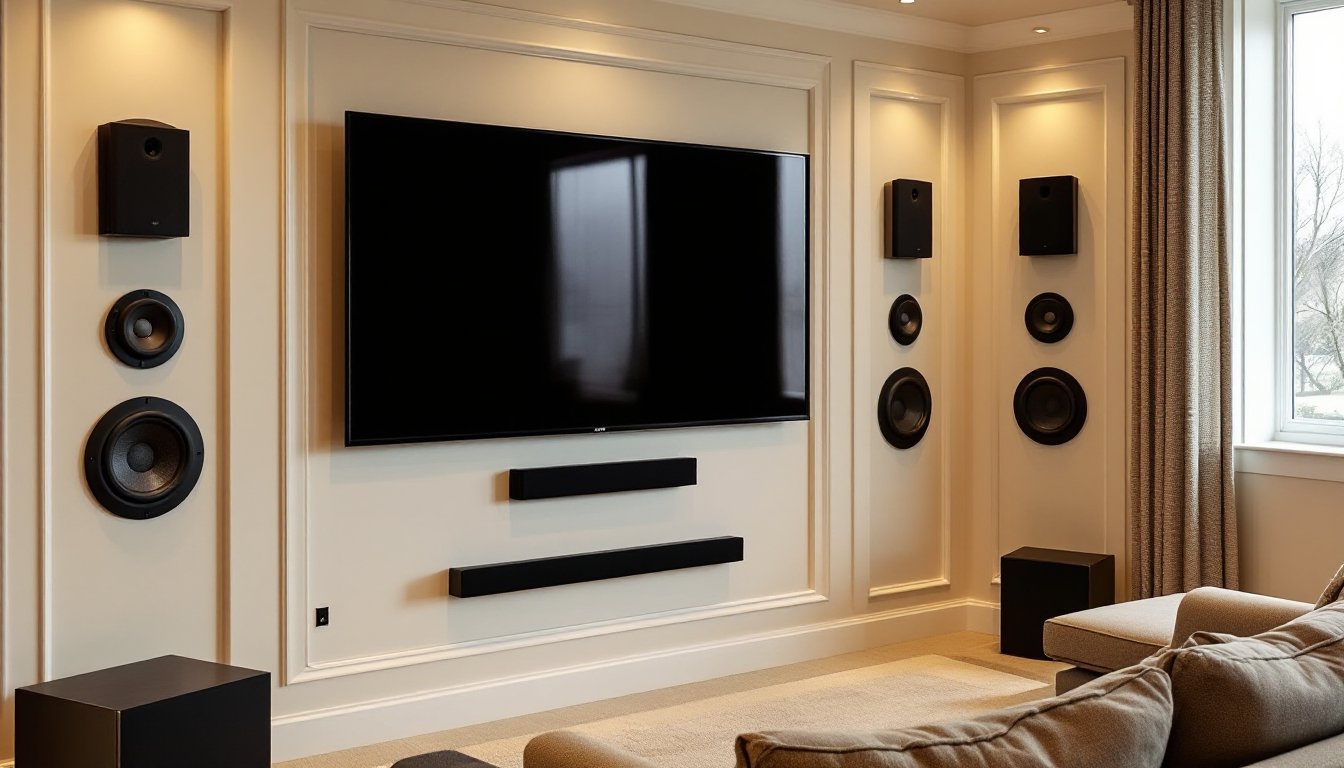
In-wall speakers solve a real problem: they deliver multi-channel audio without eating up floor space or looking like a showroom. A properly installed in-wall setup handles dialogue through a center channel, surrounds the listening area with ambient sound from side and rear channels, and integrates a subwoofer for low-end impact, all while your walls stay clean and uncluttered.
The key advantage is flexibility. You can place speakers exactly where you need them, high on a side wall for surrounds, center above or below your TV for dialogue, or along the back wall for immersive rear channels. In-wall designs also protect speaker drivers from pets, kids, and accidental bumps, since everything sits inside the wall cavity behind finished surfaces.
There’s a tradeoff worth knowing upfront: in-wall installation requires cutting drywall openings and running speaker wire through your walls. If your walls are already closed off, you’ll need to either fish wire through existing cavities or accept surface-mounted conduit as a compromise. For new construction or basement theaters with exposed framing, this is trivial. For finished homes, it’s doable but requires honest assessment of how much work you’re willing to tackle or hire out.
Understanding Speaker Specifications and Performance Metrics
Before comparing models, you need to decode the specs. Three numbers matter most: wattage, frequency response, and impedance. These determine how loud speakers play, what range of sound they reproduce, and how they connect to your receiver.
Wattage, Frequency Response, and Impedance Explained
Wattage is a measure of power handling and loudness potential. A 50-watt rated speaker isn’t twice as loud as a 25-watt speaker, loudness is logarithmic, so doubling wattage gives about a 3-decibel bump in volume. For a bedroom or small room, 25–50 watts per channel is plenty. Larger spaces or open floor plans benefit from 75–150 watts. Don’t assume high wattage guarantees quality: a well-designed 50-watt speaker outperforms a poorly tuned 150-watt model.
Frequency response shows the range of frequencies a speaker can play, measured in hertz (Hz). Human hearing spans roughly 20 Hz (very low bass) to 20,000 Hz (high treble). A speaker rated 50 Hz–20 kHz handles most content without obvious gaps. If a speaker bottoms out at 100 Hz, you’ll lose depth in movie soundtracks: that’s where a subwoofer fills in. In-wall speaker drivers are typically 4–8 inches, which limits the lowest frequencies they reproduce. That’s fine, subwoofers handle bass. Center channels and surrounds benefit from flat response in the upper midrange (1 kHz–8 kHz), where dialogue and effects clarity lives.
Impedance is measured in ohms and indicates how much electrical resistance a speaker presents to your receiver. Standard in-wall speakers are 8 ohms, matching standard home receivers. Some compact models are 4 ohms, which draws more power but isn’t a problem if your receiver supports it. Always verify impedance matches your amplifier’s rated spec: mismatches don’t damage equipment, but they can reduce volume or introduce distortion.
Top Contenders: Speaker Types and Technologies
In-wall speakers come in a few flavors: fixed-mount passive models (the most common), adjustable-angle versions, and active in-walls with built-in amplifiers. Your choice depends on installation flexibility, room layout, and control options.
Passive Versus Active In-Wall Options
Passive in-wall speakers are the standard workhorse. They mount flush into a wall cavity, use fixed or adjustable angle tweeters and woofers, and draw power from your AV receiver via speaker wire. Brands like Sonance, Speakercraft, and Klipsch offer passive models ranging from $150 to $600+ per speaker. Passive designs are simple, reliable, and time-tested. You control everything from your receiver (volume, EQ, switching between sources), so setup is straightforward once wiring is done. Most contractors and installers stock passive models because they’re compatible with any receiver.
Active (powered) in-wall speakers integrate amplifiers into the speaker enclosure. They’re less common but gaining traction for dedicated listening zones or spaces where running speaker cable is impractical. Active models connect via low-level RCA or optical cables instead of speaker wire, and they often include built-in volume controls and Bluetooth connectivity. The trade-off is cost, active in-walls run $300–$1,200+ per unit, and they require power outlets near installation locations. They shine in retrofit situations where fishing speaker wire is too messy.
For most DIY setups, passive in-walls paired with a quality receiver and subwoofer deliver the best value and flexibility. Adjustable-angle tweeters (found on many mid-range models) let you aim high-frequency drivers toward listening areas even if speakers mount up near the ceiling, compensating for installation constraints. Recent reviews from Tom’s Guide highlight in-wall speakers’ ability to solve acoustic challenges in compact spaces without visual intrusion.
Technology improvements in 2024–2026 focus on tweeter design and crossover efficiency. Quality in-wall models now use silk dome or aluminum dome tweeters paired with polypropylene or mineral-filled composite woofer cones. These materials dampen resonance and extend frequency response compared to earlier cloth surround designs. Crossovers (the circuits that split audio into high and low frequencies for different drivers) are more sophisticated, reducing phase distortion so dialogue stays crisp even off-axis.
Installation Considerations for DIY Enthusiasts
Installing in-wall speakers is moderately challenging. You’ll need to cut openings, run wire, secure mounting brackets, and patch and finish drywall. The work itself isn’t difficult, but it’s slow and dusty. Budget a full weekend per room and honestly assess whether you have access to wall cavities.
Materials and tools you’ll need: a drywall saw or hole saw kit (typically 10–16 inches for speakers), a stud finder, a level, speaker mounting brackets (included with speakers), in-wall rated speaker wire (CL2 or CL3 certification per NEC code), drywall patches or repair kits, joint compound, and sandpaper. For finish work, you’ll also want primer and paint matching your walls. Safety gear includes a dust mask (drywall dust is silica), safety glasses, and work gloves. Cutting drywall generates fine dust that lingers, so plan to contain it, drape plastic sheeting over doorways and close HVAC returns in the work area.
Installation steps:
-
Plan speaker placement and mark rough openings using a cardboard template (often included in the speaker box). Use a stud finder to avoid hitting framing. Wall studs are typically 16 inches on center, so you have roughly 14.5 inches of clear space between them, tight but workable for most 6–8 inch speaker frames.
-
Cut openings using a drywall saw. Start with a small pilot hole, then use the saw to trace the marked rectangle. Wear your dust mask, this is the messiest step. Drywall pieces and dust will pour out, so open a window.
-
Run speaker wire through the walls before installing speakers. This is where honest assessment matters. If walls are already closed and insulated, fishing wire is time-consuming and frustrating. You’ll need a fish tape or willing assistant. If you’re gutting a room for remodeling, run wire while studs are exposed. For retrofit installations, consider leaving wire in surface-mounted conduit along edges and corners where it’s less visible, or hire an electrician if walls are complex.
-
Secure the speaker mounting bracket inside the wall cavity. Most in-wall frames use spring clamps or screw flanges that tighten as you mount the speaker. Follow the manufacturer’s instructions carefully, improper mounting can crack the speaker frame or cause driver misalignment.
-
Connect speaker wire to the speaker terminals (red for positive, black for negative). Use wire staples to secure runs along studs, leaving slack for adjustments. Strip about 0.5 inches of insulation from each wire end and twist strands together tightly before inserting terminals.
-
Install the speaker grille or faceplate flush with drywall. Patch any gaps around the frame with drywall spackling, sand smooth, and paint to match walls. This final step is crucial for aesthetics, a poorly patched speaker opening stands out like a sore thumb.
A key gotcha: in-wall speakers require access to wall cavities. If your walls are stuffed with insulation, you’ll need to move it aside during installation and replace it afterward. Fiberglass insulation can be shifted: blown-in cellulose is harder to manage. Building codes (IRC, NEC) mandate that speaker wire and any electrical connections inside walls use CL2 or CL3 rated cable, which is fire-resistant. Standard speaker wire won’t pass inspection in a finished installation, though inspectors rarely police DIY home theater installs unless you’re pulling permits for major renovations.
For professional guidance on tool selection and techniques, Popular Mechanics offers hands-on DIY project walkthroughs covering similar installation methods. Also, Digital Trends reviews home automation and connected audio systems that may integrate with your in-wall speakers for voice control or whole-home distribution.
Conclusion
In-wall speakers are a practical choice for homeowners who want quality surround sound without clutter. Focus on passive models from established brands, verify impedance compatibility with your receiver, and be realistic about installation effort. If cutting drywall and fishing wire feels daunting, budgeting a few hundred dollars for a handyperson or electrician to handle the heavy lifting is money well spent. Done right, in-wall speakers vanish into your walls and deliver years of reliable, immersive audio.